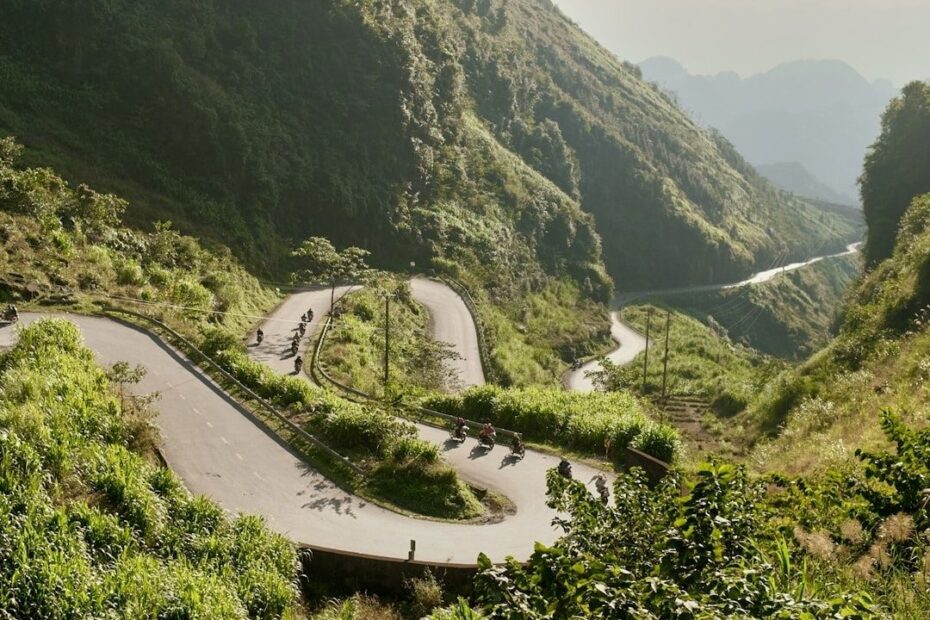
The Anatomy of an Appalachian Fall-Line Switchback
An off-camber switchback on an Appalachian ridge does not feel like an ordinary corner. The trail may pitch sharply downhill while the turn itself falls away from the hillside, leaving the motorcycle leaning toward the drop instead of settling into the slope. The result is a disorienting combination of steep elevation, negative banking, limited visibility, and very little room to correct a mistake. A rider who enters with flat-ground cornering habits can find the front tire washing downhill, the rear stepping toward the outside edge, or the entire motorcycle drifting toward a rut, rock shelf, or exposed drop.
Weather makes the problem more severe. Wet shale offers thin, unpredictable grip, while decomposing leaf mulch can hide slick clay, roots, and loose stones beneath a surface that looks firm from a few yards away. Appalachian rain can change a manageable line into a sliding chute within hours. This is why the usual flat-track approach, carrying speed and relying on a planted outside tire, fails on a severe downhill slope. The rider must manage three moving parts at once: balance over a slanted contact patch, friction that may disappear without warning, and drive control through the clutch, throttle, and rear brake. Riders who regularly explore demanding West Virginia backcountry roads should treat every blind hairpin as a traction problem first and a cornering problem second.
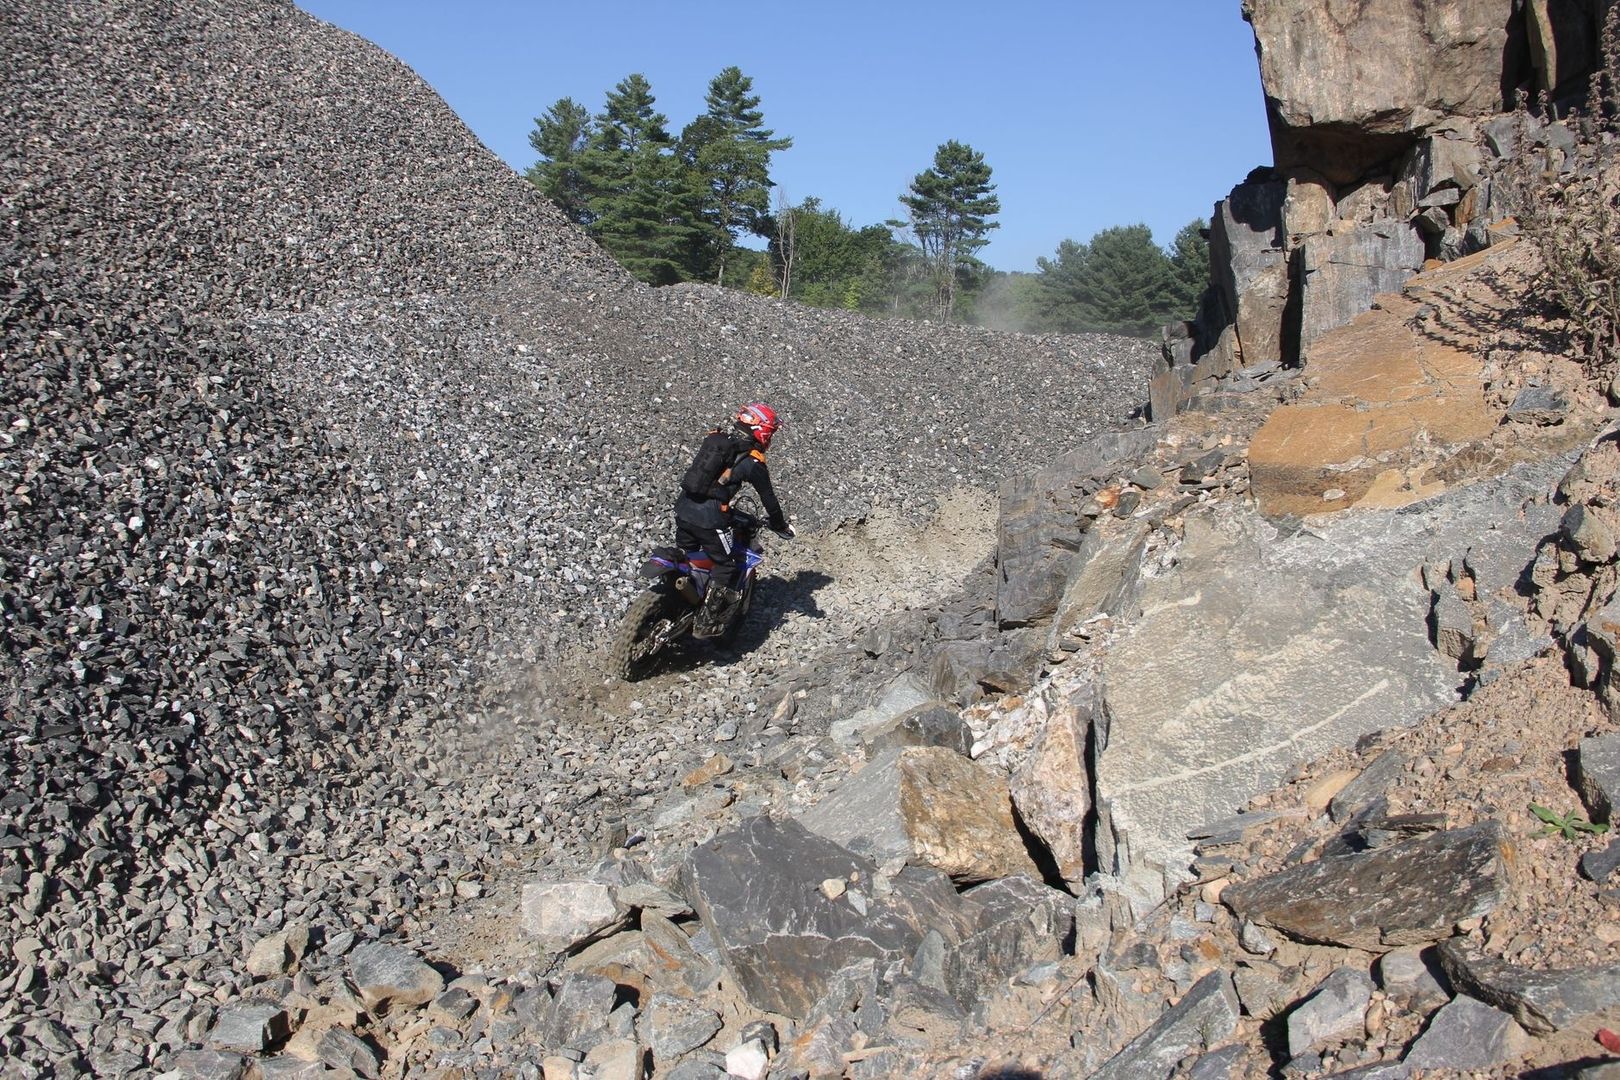
Understanding Slope Geometry and Traction Traps
Begin by reading the terrain as a three-dimensional surface rather than a flat turn. On positive camber, the uphill side of the trail supports the motorcycle and helps keep the contact patch underneath the combined mass of rider and machine. On negative camber, the surface tilts away from the hill. The tires are being pulled downhill while the rider is attempting to change direction across that pull. Even when the motorcycle appears upright relative to the trail, the contact patch may be angled toward the outside of the corner, reducing the margin available for braking or throttle corrections.
Wet shale is especially deceptive because its grip can vary from one tire width to the next. A rough, angular piece may provide a brief edge of traction, then rotate under the tire as weight transfers. Thin mud or leaf mulch can act like a lubricant over the rock. Hardpack generally offers a more predictable friction surface, but it can still become polished and slick after repeated traffic or rain. The West Virginia Department of Transportation repeatedly emphasizes slowing down for changing roadway conditions, and the same principle applies off pavement: speed must be reduced before the surface forces the issue, not after traction has already gone.
Line selection is the difference between using the hill and fighting it. Look for the shelf, which is the broadest section that holds the motorcycle across the slope with the least sideways exposure. Avoid riding the rim, where the outer edge is often undercut, loose, or crowned toward the drop. A shelf may be only a few inches wide, but it usually offers better support than the visibly smooth center of a rut. Scan beyond the apex for the uphill exit, identify any embedded rock that can catch the front wheel, and decide where the motorcycle will stand before entering the turn.
- Favor a firm, slightly raised shelf over loose material at the trail edge.
- Cross ruts as squarely as the terrain allows instead of allowing the front wheel to follow them downhill.
- Do not assume dark, wet rock is grippy rock. Test the surface with controlled speed and minimal steering input.
- Leave an escape option. If the apex is blocked, a slower, wider line is safer than a rushed pivot.
Body Displacement and Dynamic Peg Weighting
Counter-weighting becomes the primary balance tool on a negative-banked hairpin. Drop the majority of your effective weight through the downhill peg while keeping your torso tall and relaxed. This places useful pressure on the tire that is most likely to unload as the trail falls away. The motorcycle may lean uphill relative to your body, but that is intentional. The goal is not to make the machine look naturally settled; the goal is to keep the tires connected to the surface while allowing the rider”s mass to oppose the downhill pull.
Use the hips and lower core to guide the motorcycle. Rotate the hips toward the turn, keep the shoulders from collapsing downhill, and allow the bars to move rather than forcing them with stiff arms. Arm leverage can abruptly load the front tire and cause a slide when the shale is wet. A quiet upper body gives the suspension room to work and keeps steering corrections small. The rider should feel active through the legs, with the knees flexed and the boots ready to absorb movement rather than locked against the pegs.
Standing is normally the best position when the surface is rough and the descent is steep, but standing does not mean reaching rigidly over the bars. Maintain an athletic hover with bent knees, a neutral spine, and enough space between the body and the controls to let the motorcycle move beneath you. On an extreme drop, a brief lower seated position can help a shorter rider reach the ground during a stop, but planting a foot downhill can pull the body off balance. If the rear tire kicks downhill, resist the instinct to throw the torso uphill suddenly. Keep the downhill peg weighted, reduce abrupt steering, and use the rear brake and clutch to settle the chassis before the motorcycle develops a high-side motion.
- Set the downhill foot firmly on its peg before the turn begins.
- Keep the outside leg engaged against the motorcycle while the hips rotate toward the corner.
- Let the arms remain bent and light, using the lower body for stability and direction.
- Hold the head level and look toward the uphill escape path rather than the slope below.
The Fine Line of Clutch and Rear Brake Synchronization
The front brake is powerful, but wet off-camber shale is a poor place to demand maximum front-tire grip. A sharp front-brake input can compress the fork, reduce steering freedom, and push the contact patch across the surface. If the tire is already angled downhill, the front can wash away with almost no warning. Most speed reduction should happen on stable ground before the descent and turn. Once committed to the hairpin, use the front brake only with extreme delicacy and only when the surface provides enough support for it.
The clutch friction zone keeps the engine connected without forcing the rear wheel to deliver a sudden surge of torque. Maintain enough revs to prevent a stall, then meter drive with small clutch movements rather than snapping the throttle open or closed. A stalled engine removes the stabilizing effect of controlled drive and may leave the motorcycle freewheeling across the slope. The rear brake should be lightly dragged as a mechanical rudder, not stomped as a stopping device. It trims speed, keeps the chassis settled, and helps prevent the rear wheel from accelerating downhill when the throttle is applied.
| Terrain and input | Likely reaction on positive camber | Likely reaction on off-camber slope |
|---|---|---|
| Light rear-brake drag | Settles the rear and shortens the line slightly | Controls downhill drift and helps point the motorcycle across the slope |
| Abrupt rear-brake lock | Rear tire may skid but often remains aligned with the trail | Rear can slide downhill, increasing the chance of a sideways stall or high-side |
| Sharp front-brake grab | Front compresses and may still retain directional support | Front contact patch can wash downhill, especially on wet shale |
| Small throttle with clutch in the friction zone | Maintains steady drive and balance | Allows controlled repositioning without spinning the rear tire |
Step-by-Step Execution Through the Hairpin Apex
The safest switchback is prepared before the motorcycle reaches the steepest part of the turn. Stand on the pegs, inspect the entry, and scrub speed while the tires are still on the firmest available ground. Keep the motorcycle as straight as possible during heavy braking. Select a low gear, establish a manageable engine speed, and cover the clutch and rear brake before the front wheel drops into the off-camber section. If visibility is poor, stop in a secure position and inspect the line on foot. No corner is worth committing blind when the exit is hidden by trees, fog, or the ridge itself.
- Entry: Reduce speed early, position the motorcycle toward the chosen shelf, and release harsh braking before the loose surface begins.
- Set-up: Weight the downhill peg, keep the hips active, and maintain a small amount of clutch slip with gentle rear-brake drag.
- Apex: Turn the head and eyes toward the uphill escape path. Do not stare at the cliff edge, rut, or rock that threatens to pull attention downhill.
- Exit: As the motorcycle begins to align with the next section, release some rear brake and roll on smooth power.
- Commit: Use enough throttle to re-center mass and stabilize the chassis, but avoid spinning the rear tire across loose shale.
The apex is not a place to create a dramatic pivot. It is a transition where balance, drive, and direction are exchanged gradually. Keep the motorcycle moving at walking pace if necessary, but preserve forward momentum with the clutch instead of paddling aggressively or chopping the throttle. Once the front wheel points toward the uphill exit, allow the machine to stand up under controlled power. If the rear tire spins, immediately soften the throttle and increase clutch control rather than adding more power. A smooth exit protects both traction and the trail surface.
Ride Down the Mountain with Control and Confidence
Off-camber switchbacks become manageable when the correct actions become muscle memory. The essential sequence is simple but demanding: establish speed before the drop, load the downhill peg, keep the upper body calm, drag the rear brake lightly, and use the clutch friction zone to preserve controlled drive. These techniques do not eliminate risk, especially on wet shale, but they give the rider more options when the surface shifts beneath the tires.
- Practice slow switchback entries on lower-stakes local trail networks before attempting exposed ridgelines.
- Check tire condition, pressures, luggage security, controls, and recovery equipment before entering remote terrain.
- Ride at a pace that allows a full stop within the visible trail, particularly in fog, rain, or fading light.
- Travel with a capable partner when conditions are severe and carry communication, navigation, water, and basic extraction gear.
- Preserve the route by avoiding unnecessary wheelspin, staying on established lines, and respecting closures and land-use rules.
Rugged mountain riding rewards patience more than bravado. A carefully chosen shelf, a disciplined body position, and a few inches of clutch control can separate a clean descent from a difficult recovery. Read the ridge, respect the weather, and leave enough margin for the terrain to surprise you. Control is what carries a dual-sport motorcycle safely around the hairpin and onward down the mountain.